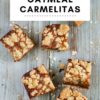
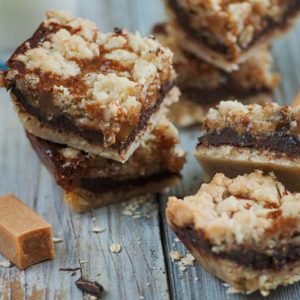
These carmelitas bars toe that perfect line between a crunchy exterior and soft, gooey center. One bite into them, and its bubblegum-like middle comes to the fore, with its center oozing out as you chomp in. Its middle is a beautiful, creamy caramel center that squirts into your mouth.
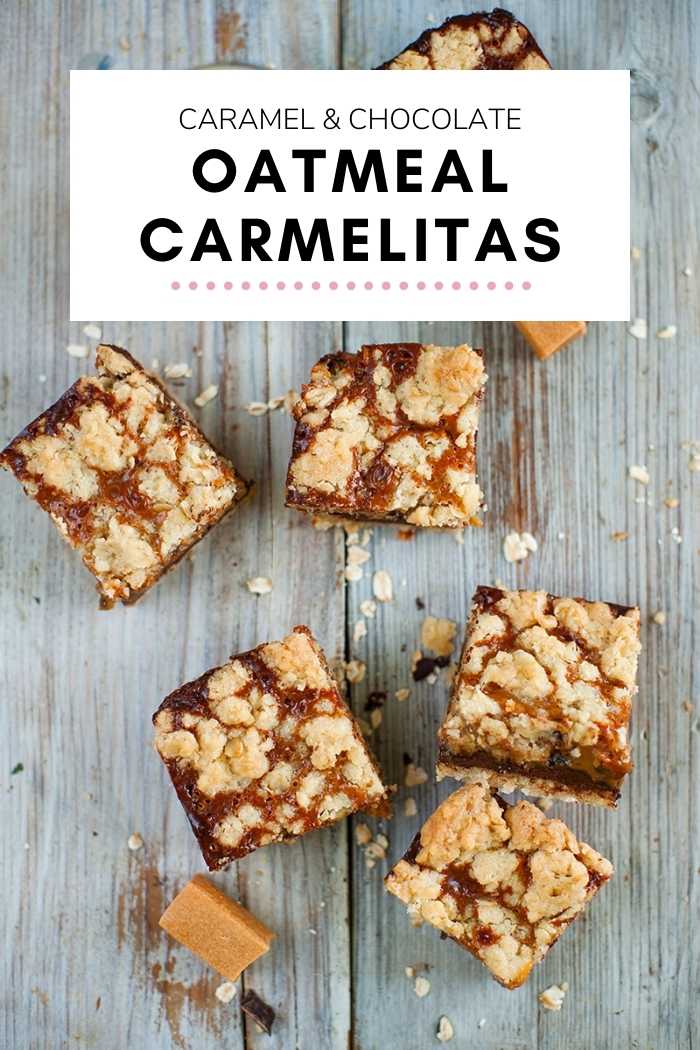
Carmelitas are sweet bars in the shape of bars stacked with oatmeal, chocolate, and caramel. They are a sweet gooey treat with a smooth buttery caramel velvet texture coming from the sauce. It is both a rich and sweet dessert.
The oats in the mix create a lovely texture and chew to the bars. It’s like a soft chocolate-chip cookie, packed full of melted caramel. What’s not to love?
Best of all, these beauties don’t require a mixer to put them together. They’re simple and straightforward to make.
It’s important to get the flour-to-oat ratio right with these. Anything too heavily in favor of oats will make them stodgy but unable to hold together properly. Be sure to follow the ratio closely, with more flour, to help them hold together perfectly.
The very same mixture is used to make the crust and topping, but cooked differently. This means that while flavor stays consistent throughout each bar, the different textures compliment each other beautifully.
Half of the mix is baked for 10 minutes to help form the crust, while the other half is crumbled on top after you apply the filling.
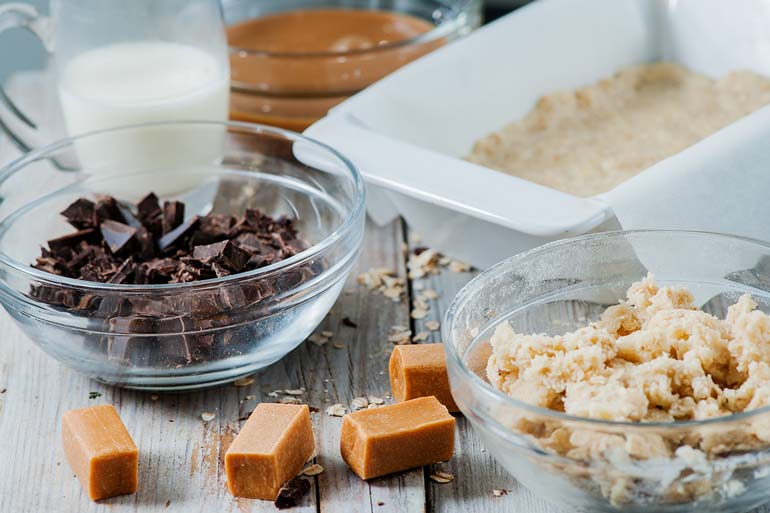
The filling is what really sets this all apart. It’s made by melting caramel and heavy cream together in either the microwave or on the stovetop.
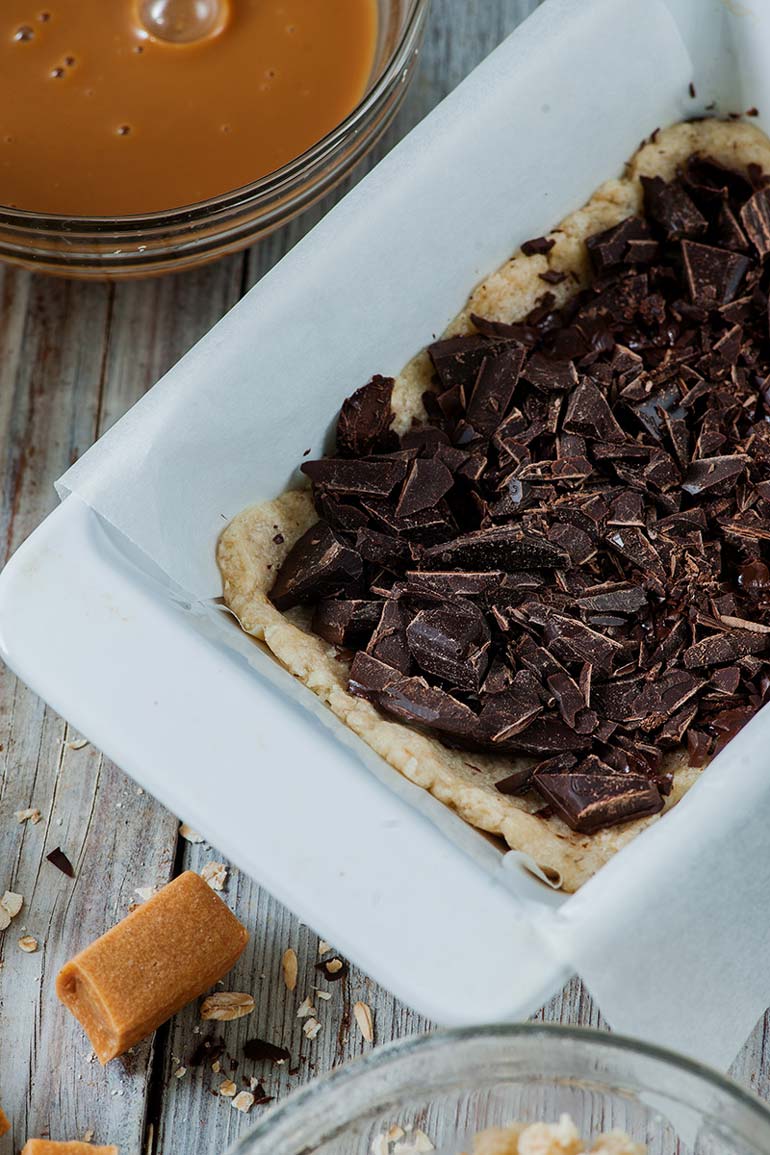
Once the filling is ready, you simply drizzle it on the baked crust, before then sprinkle with chocolate and crumble on the other half of the oatmeal mixture. The layered approach to putting this together not only makes it really easy, but also gives them a beautiful, marble-like appearance.
You then put the pan in the oven and bake until the edges have set and the center is bubbly and molten.
Once baked, be sure to let the contents of the pan set and cool down completely before slicing. This can take a few hours or overnight, or you can even put them in the fridge to help them cool down even quicker. Whichever way you choose, just before the outside has set completely before slicing. If you cut too prematurely then you’ll create a mess with melted chocolate and caramel all over the place, and the bars just won’t stay intact.

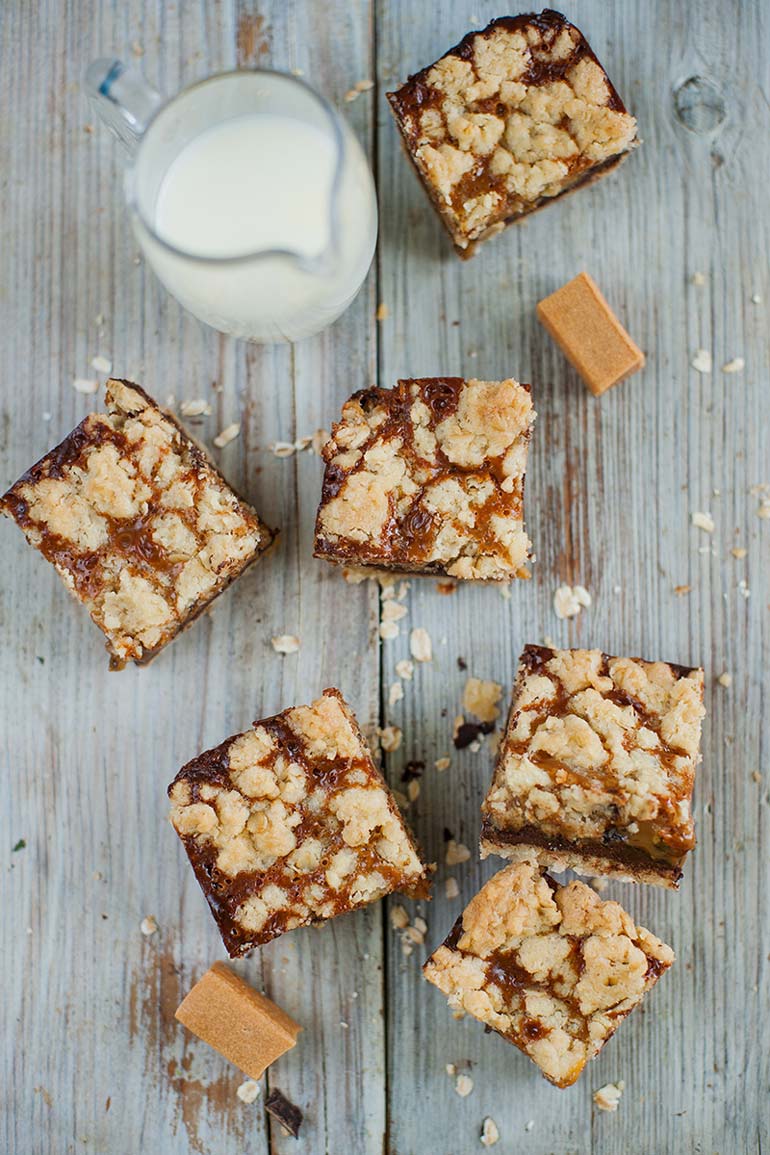
Once cooled, the bars will still have that beautiful gooey interior, and the sugar and butter in the mix will have had time to caramelize and work their way into every part of the bake. Words can’t do it justice.
Do I have any tips for this recipe? Allowing them to cool properly aside, what I would also say is that if you’re a bit wary of them being too salty then try adding a pinch of salt. This helps balance the sweetness. You can do this to the crust mixture, or the caramel sauce. Personally, I prefer the latter, but there’s no reason why you can’t do both!
I also strongly recommend lining your cooking pan with aluminum foil. Not everyone does this, especially when already using cooking spray or oil, but I think it just makes cleaning up afterwards so much easier. Especially with something like chocolate, which can get cooked and burned on very easily.
Ingredients
Oats
You will need to use rolled oats for this recipe. They work better because they give the right consistency. Instant oats have a powdered feel, and the consistency will throw your bar off. You need the oats to have the right texture and crunch to them so that the bars are also crunchy.
Flour
Use 1 cup of all-purpose flour. You can, however, use gluten-free flour if you wish. It will not alter the taste. Whichever flour you use, it is important to make sure that you balance out the measurements with the rolled oats.
Caramel Squares
Use 35 wrapped caramel squares, which you will then unwrap before melting them. These are melted and used as a filling ingredient for the squares. The best caramels to buy are the baking kind. If you use caramel sauce, you will need to make sure that it is thick enough to withstand baking. Try to get the best quality caramel squares.
Brown sugar
¾ cup of light brown sugar. Brown sugar packs tightly and adds to the sweetness of this treat.
Vanilla extract
1 tablespoon of vanilla extract.
Baking soda
1 teaspoon of baking soda. This will help to raise the crust
Salt
½ a teaspoon of salt to even out the flavors
Heavy cream
½ a cup of heavy cream. The cream makes the dessert bar even more decadent, rich and creamy, than if you were to use other types of cream. Using regular milk is acceptable, but it just will not be as creamy. Heavy cream also makes the filling more pourable.
Semi-sweet chocolate chips
You will need to meet these and mix them with the caramel. They should be semi-sweet to offset some of the sweetness provided by the caramel.
Storage
To store carmelitas, first, make sure that they cool down entirely. Then place them in an airtight container. When left on the countertop at room temperature, they can remain fresh for about 3 to 5 days. It is essential to make sure that you have stored them in a cool, dry place. When stored at room temperature, the caramel remains soft.
You can store Carmelitas in the fridge for about 7 to 9 days. This will require that you allow them to cool down entirely before cutting them and then putting them in an airtight container in the fridge.
When you put them in the fridge, try to keep them in a flat layer and not in stacks. This is to avoid any possible incidents of squashing the caramel filling. When stored in the fridge, the caramel filling becomes a little harder than that stored at room temperature.
Can I Freeze Carmelitas?
Freezing carmelitas means that you will have a batch ready to serve as soon as you thaw them. You would essentially cut down on the amount of time needed to prepare carmelitas.
When you freeze carmelitas, make sure to place them in a single layer in the freezer and not stack them. If one week is not long enough for you, you can freeze them to get more shelf life. When frozen, carmelitas will last for up to 1 month to about four months. When this happens, it’s important to know how to thaw them out properly.
Slicing
This is so that the caramel is properly set and won’t ooze out. Once it is cooled, the caramel would have solidified and hence making it easier to cut through. Allowing the bars to cool down may take up to 4 hours or even several hours. Some leave them out overnight at room temperature. This is the safest amount of time to allow the carmelitas to be sliced. If cooling at room temperature is taking too long for you, you can pop them in the fridge for a bit.
Serving & Side Dish Ideas
Ice cream – carmelitas are a sweet treat. They go well with ice cream as a standard dessert.
Cream – you can serve them with a dollop of whipped cream—the fluffy texture and whispy cream compliments the deep sweetness of the carmelitas.
Coffee- You can also serve carmelitas with a hot beverage such as coffee
Milk – you can also have these with a glass of milk, according to your dietary preferences. Instead of whole milk, for instance, you can use coconut milk.
Oatmeal Carmelitas Recipe
Ingredients
Carmelita Layers
- ¾ cup unsalted butter
- ¾ cup light brown sugar
- 1 tbsp vanilla extract
- 1 cup all-purpose flour
- 1 cup rolled oats
- 1 tsp baking soda
Filling
- 1 cup soft caramel e.g. Werther's, Kraft
- 1 pinch salt
- ½ cup heavy cream
- 1 cup chocolate chopped
Instructions
First Carmelita Layer
- Preheat oven to 350°F (180°C). Line 8-inch pan with aluminum foil and cooking spray.
- Add butter to a large microwave-friendly mixing bowl. Heat in microwave at high power to melt, about about 60-90 seconds.
- Add vanilla and brown sugar to the melted butter. Whisk until smooth.
- Add oats, flour, salt, and baking soda. Combine well until thick.
- Pour half of the mixture into the foil-lined pan. Use a spatula to create an even, flat layer.
- Put the pan in the oven and bake for 10 minutes.
Caramel Filling
- In a pan over medium-low heat, add soft caramel, heavy cream and salt. Combine and stir continuously until melted. Remove from heat.
Second Carmelita Layer
- Remove carmelita mix from the oven. Sprinkle with chocolate pieces.
- Pour the caramel sauce over the chocolate layer. Pour the remaining oatmeal-brown sugar mix on top.
- Bake for 15-20 minutes, or until edges brown and middle starts to bubble. Remove from oven and leave to cool completely before serving.
FAQs
Where do carmelitas come from?
Carmelitas is a Hispanic dessert. One of the first mentions of carmelitas is in 1967, in the Pillsbury Bake-Off by Erlyce Larson.
How to make oatmeal carmelitas keto-friendly
The key to making oatmeal carmelitas is to ensure as few carbs on the site as possible. Which also means cutting out the sugars. You can make them keto-friendly by cutting out the oats and replacing them with sliced almonds and flaked coconuts. Also, substitute the all-purpose flour with almond flour, and use a low-carb sweetener instead.
How to make oatmeal carmelitas gluten-free
You can make sure that carmelitas are gluten-free by using gluten-free flour. Also, make sure to use gluten-free oats. You can use oat flour instead.
How to make oatmeal carmelitas vegan-friendly
You can make sure that your oatmeal carmelitas are vegan-friendly by using non-animal products. So, for instance, instead of using heavy cream or regular milk, you can use coconut milk instead. Instead of regular butter, you can use almond butter. For the butter substitute, you can use almond butter. You can also use dairy-free chocolate chips.